Customisation
Customisation
# My profile
By clicking on your profile photo in the top right-hand corner of the application, you can customize your Skalin settings. Your changes are saved for your profile, so they don't affect other users.

# Account customisation
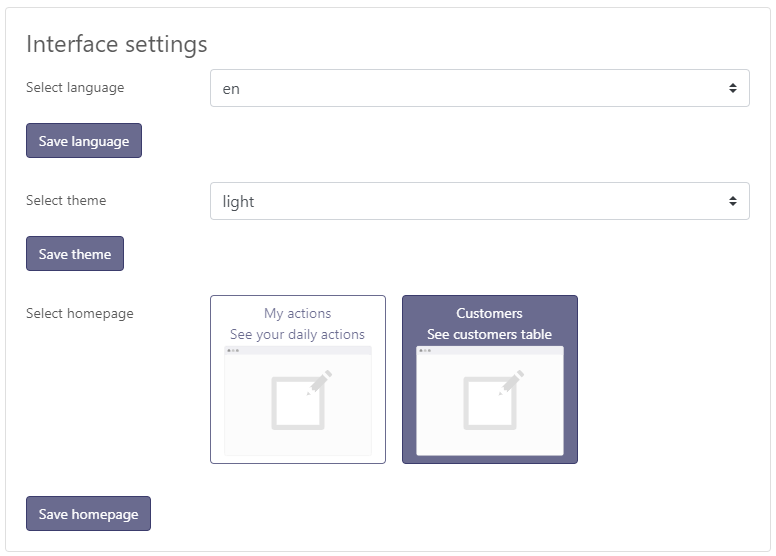
You can select the language (English or French), choose one of the themes and select your default home page (customer overview - default, or My Actions).
# Communication preferences
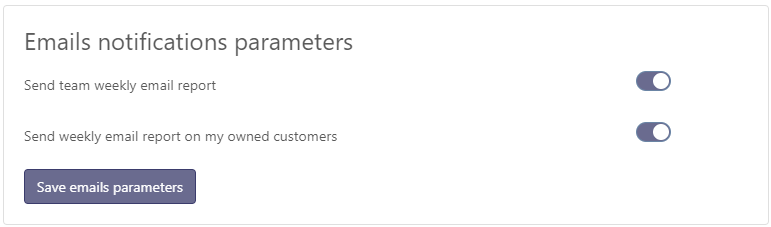
By default, you receive up to 2 summary emails every Monday:
- A summary of the accounts you own.
- A summary of all the company's customers.
If you wish to change this, go to My profile where you can uncheck the messages you no longer wish to receive:
# Settings
In the vertical menu, "SETTINGS > General" allows you to modify your preferences and settings within the application. These settings are only accessible to platform administrators, as they affect all users.
# Customise application settings
# Stages definition
Stages" correspond to the major stages in the customer's life cycle. By default, Skalin offers four: Trial, onboarding, run, churn.
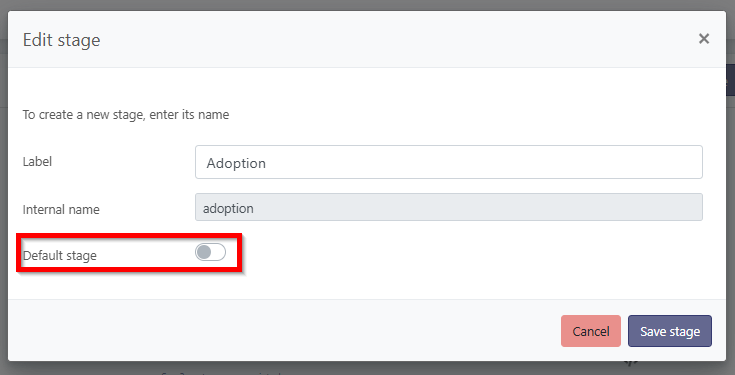
The default phase is applied to any new client for whom Skalin has no further details about the phase.
You can change the default phase: hover over the new default phase, click the pencil icon to edit, and then select the option to set it as the default phase.

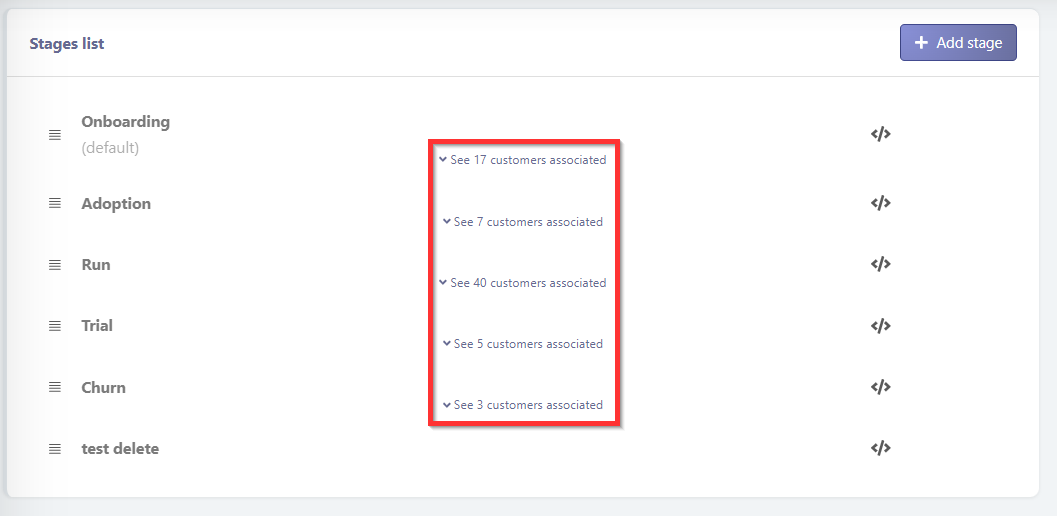
However, you can create as many stages as you like, to best reflect your typical customer journey. To do so, click on "Settings > Stages".

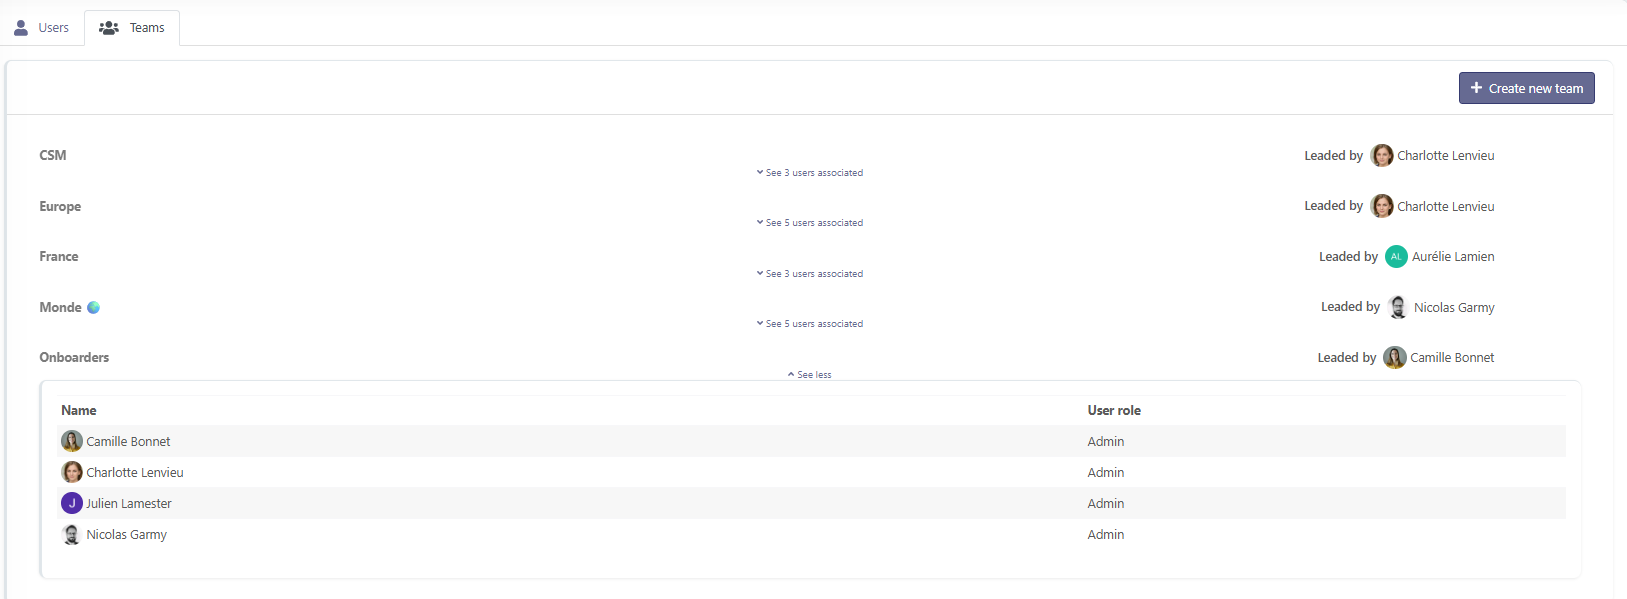
For each stage, a "See X customers associated" link appears just below its name: click on it to see the list of customers currently in that stage.
You then need to enter a "name", which corresponds to the technical title of the field, and a label, which corresponds to the value that will be displayed in Skalin. Note that if you synchronize this information from another system (CRM for example), the "name" must match the label of the application in question.

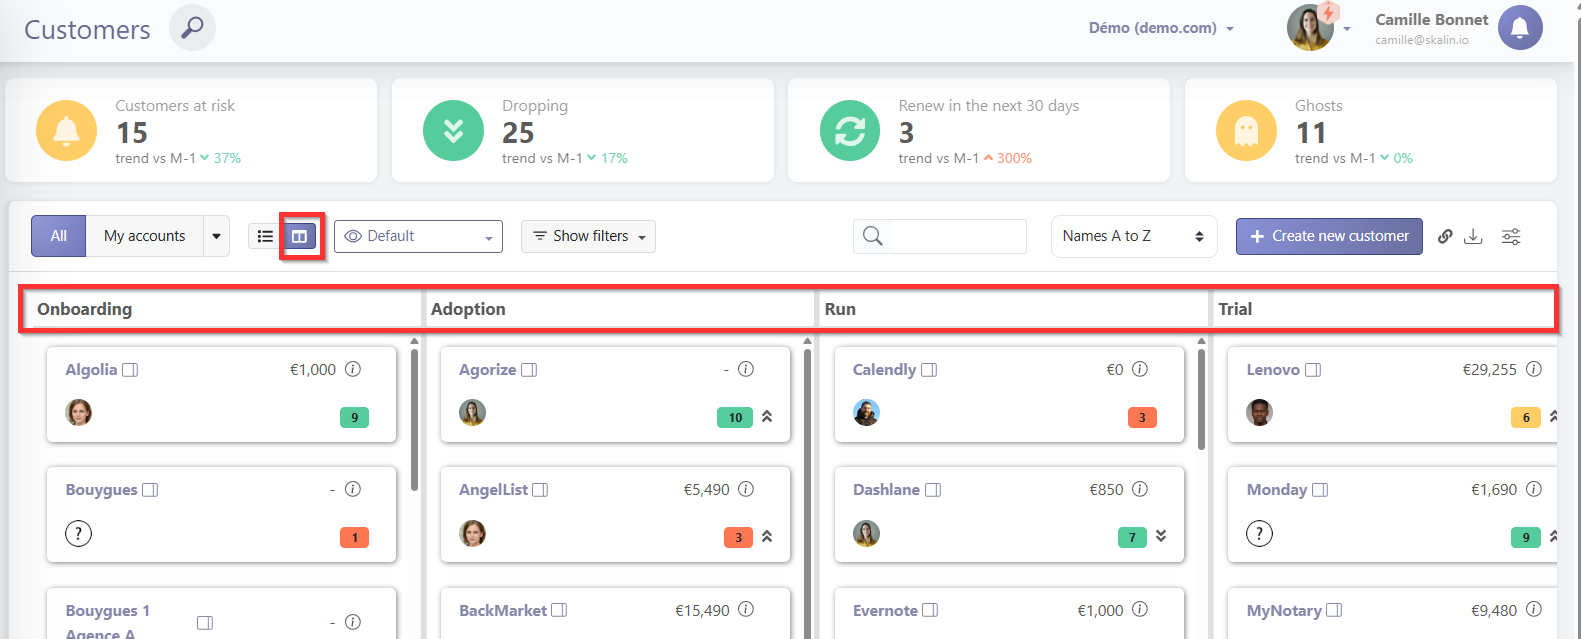
You can also change the order of stages by using the three-line button to the left of each stage and dragging it to the desired position. This order directly affects the Kanban view of the customer list: it determines the order of the columns displayed.
To know
Default stages cannot be deleted, but can be renamed using the edit button  on the right. As far as possible, we recommend using the 4 existing stages and renaming them if necessary. There's no need to create a new "End of contract" step; instead, capitalize on "churn" and rename it "End of contract". Each of these steps has a meaning for Skalin, which is why it's a good idea to keep them.
# Teams
Creating a team in Skalin makes it possible to logically filter views from a team manager’s perspective. This allows them to quickly see all the customers managed by their team members at a glance, and to access reports that are also filtered to the accounts their team is responsible for.
Only users with the Admin role can create and manage teams.
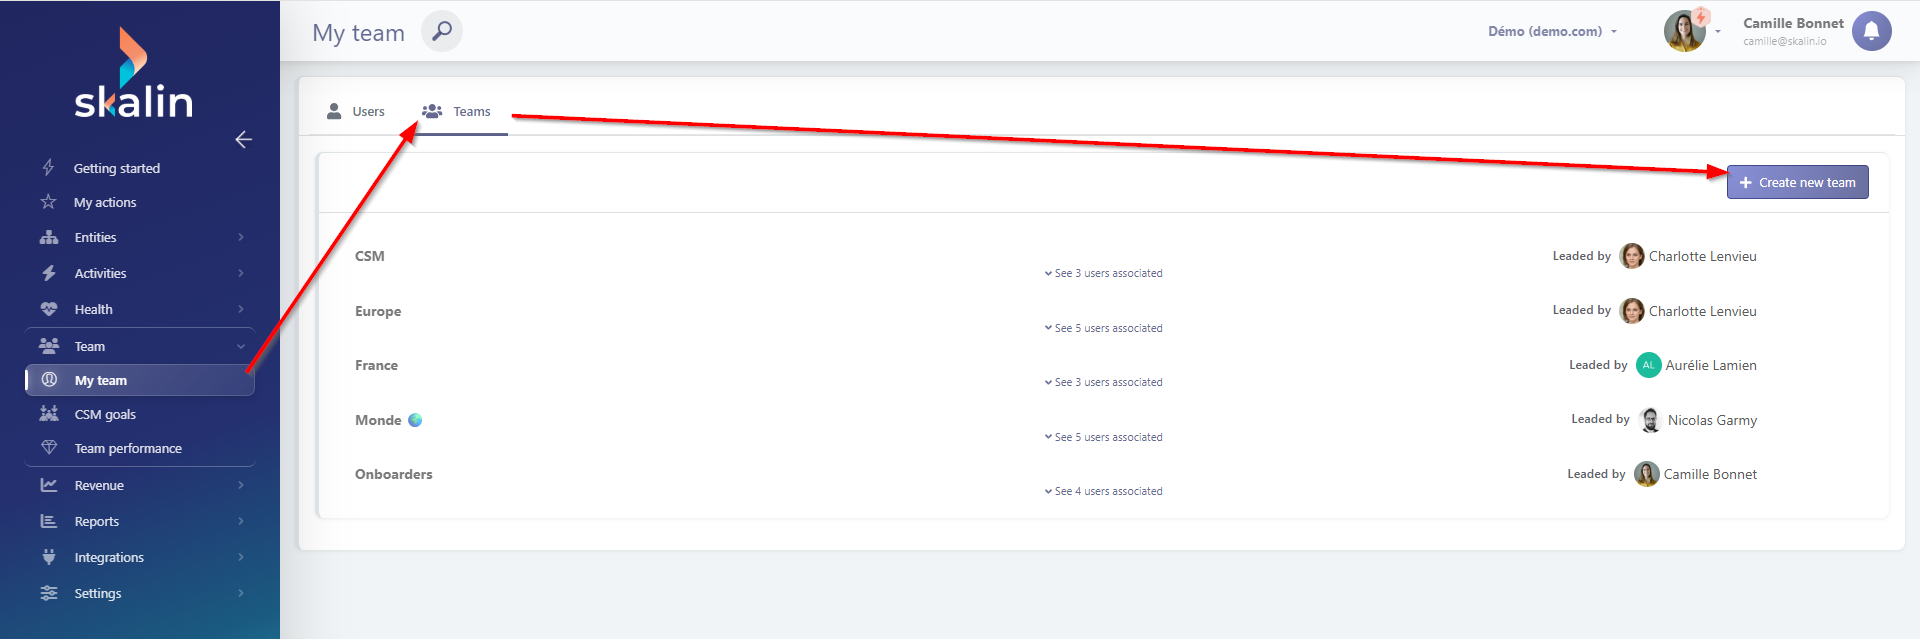
To create a team, go to Team > My team > Teams tab > Create a team.
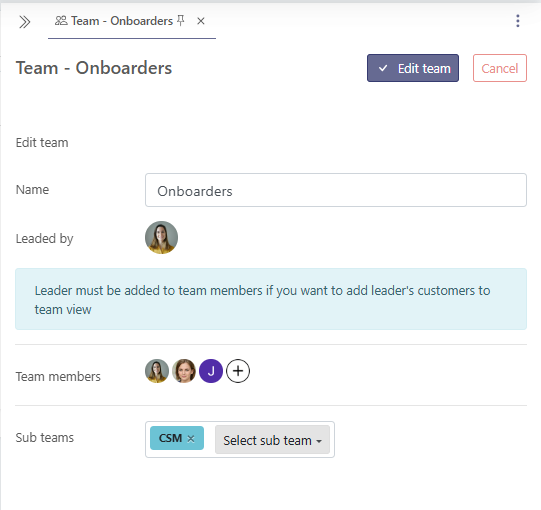
Then add a team name, a team leader, and team members. As indicated, the team leader must remain listed as a team member in order for their customers to appear in the team view.
Info
A user can belong to multiple teams.
You can also define which sub-teams belong to this team: members of these sub-teams will be visible in the team’s member list.
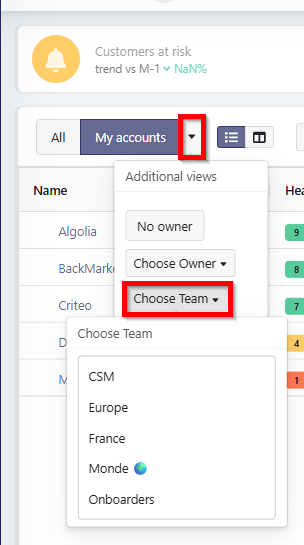
In the customer list, simply click the arrow to the right of “My customers”, then “Choose a team”, to view the customers of a specific team:
Role reminder
All users can view all customers (and therefore can select any team filters). Managers can view the goals of customers belonging to teams they are not managing.